A Note on Aiming
Before we get started, this article is going to assume you are able to aim with both eyes open and shoot a decent grouping doing so at a distance at least ten yards. For right eye dominant shooting this means your head is slightly turned to the right as you look down the sights with both eyes. Left eye dominant is the reverse.
The distance is important since your effective distance can as much as halved when under duress so you’ll want to make sure you can effectively hit your target at the range at least ten yards since a majority of defensive encounters occur at less than three to five yards.
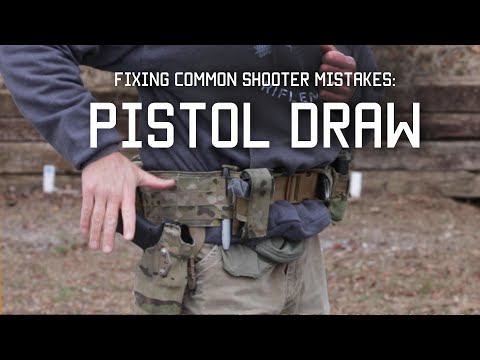
The “Three Point” Draw
One of the best draws for defensive situations has three stops (hence why I like to call it a three point draw) and has you aiming your handgun towards your target from right out of the holster. You’ve probably seen this done if you’ve ever seen a professionally trained gunfighter shooting and may not have even realized the significance of the movements.
The first “point” is akin to a quickdraw you might see from a western movie. From the draw as soon as your pistol clears the holster it should immediately be aiming forward.
It is extremely important to make sure your supporting hand never passes in front of the barrel. If you carry concealed under a shirt this is relatively easy to accomplish but should still be practiced extensively. To assist your support hand in staying clear, it’s best to practice running it across your body to where it needs to be to lift your shirt. You can either then bring your support hand under your gun or keep it across your midsection pressed against your body until your raise your weapon for the next phase of the draw.
For the next “point,” the pistol, while still aiming forward, is brought up to your midsection. The elbow of your main arm should be tucked, and our support hand should now be wrapping around as if you were normally holding your pistol. Your weapon should be somewhere between solar plexus and pec muscle height wise.
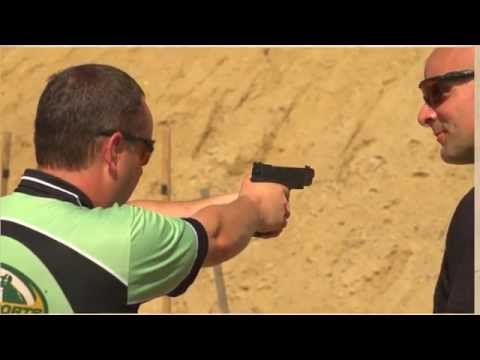
The final “point” is the extension of the arms into what should be your regular defensive shooting stance.
Now here comes the tricky part, putting it into practice.
With a target at close range, you’ll want to practice firing a single shot from the first two stops and two shots at the final stop of the draw.
The purpose of this draw and drilling it is because with defensive encounters happening at such a short distance you can’t wait until you’re in your traditional shooting stance you may use at the range. Plus if your attacker is close enough to lunge or even reach out and grab your weapon the last thing you want to do is make that easier for them to do.
Which brings us to our next “point”!
Backstepping
Now this may seem like a no-brainer but when the proverbial crap hits the fan it won’t be the first thing on your mind. So, it needs to be practiced and practiced until it becomes instinct, so you don’t have to think about it.
Also, it needs to be done right. With a majority of defensive encounters happening at such a close range and the average person able to cover that distance in the blink of an eye, the best thing you can do while drawing your weapon is give yourself more time. The best way to do this is by giving yourself more distance.
If you’re right-hand dominant, you should be shooting with your right foot back. While drawing, slide your left foot back to your right foot. Now slide your right foot back.
Simple right? Right! Don’t complicate the movement by crossing one foot over the other which will require turning your torso and also add the possibility of you tripping yourself.
Once you’re comfortable moving straight back, feel free to mix it up and move off to the side why moving back. Breaking the straight line of a charge can give you extra time and even trip up your attacker. Just make sure to follow the same principles as stepping back and don’t trip yourself up by trying to step over your feet.
Stiff Arming and Striking
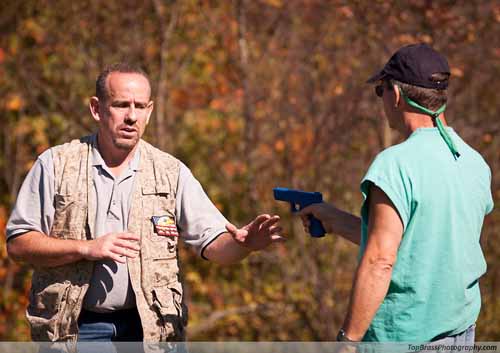
In an in your face encounter simply stepping back will most likely not be enough.
As an extra measure to create distance and give yourself the chance to backstep you may need to throw a stiff arm or even strike an attacker.
Strikes recommended for this situation are ones that involve the heel of your palm. Either uppercutting the chin or aiming for the nose. When aiming a palm strike straight at the face for an extra measure form your hand into a “claw” by curling your fingers halfway. The benefit of this will be adding the potential for an eye gouge.
Also, for consideration is what’s become affectionately known as a “spartan kick” from the movie 300. One of these delivered to the bladder (just above the groin) will affect an attacker’s center of gravity severely and push them back if it doesn’t knock them down completely. Keep in mind that kicks should be fast and put you at risk of being taken off balance.
Whichever strike is required to assist in distancing yourself should be finished before you start to draw. Accidentally shooting yourself in the foot, hand or arm is obviously not ideal. Also remember you’re not limited to just these strikes. You can use your shoulder, elbow, etc, to create separation. Find a few strikes that work best for you and get comfortable with them.
Final Thoughts
These are basic techniques you should get comfortable with to improve your chances of surviving a situation where you’re forced to draw and use your weapon. If possible, I suggest investing in an airsoft gun and getting a friend to practice these with. Having someone run at you from ten or so feet away while you draw and move back will not only show you how fast things will happen but prepare you for operating under the pressure. (Do not, under any circumstances, use a real gun in this!) Good luck!